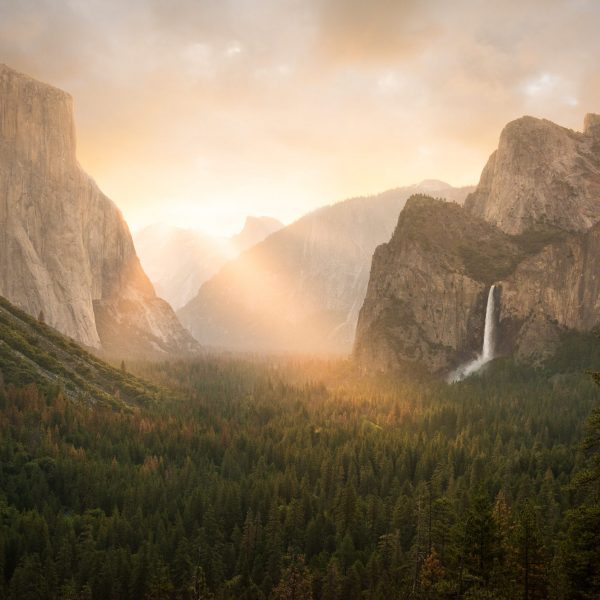
Mastering exposure is crucial for capturing high-quality images in photography. Here are some tips to help you gain control over exposure and achieve the desired results:
### 1. Understand the Exposure Triangle
The exposure triangle consists of three elements that work together to determine the exposure of an image: aperture, shutter speed, and ISO.
– **Aperture**: Controls the size of the lens opening and affects depth of field.
– **Shutter Speed**: Dictates the length of time the camera sensor is exposed to light and impacts motion blur or sharpness.
– **ISO**: Determines the camera sensor’s sensitivity to light, affecting noise levels.
### 2. Learn Manual Mode
Manual mode allows you to control all aspects of the exposure triangle, giving you the most creative control. Practice adjusting each setting to see how it affects your images.

### 3. Use Exposure Compensation
If you’re shooting in semi-automatic modes like aperture priority or shutter priority, use exposure compensation to fine-tune the exposure based on the camera’s metering.
### 4. Metering Modes
Understand and use different metering modes to suit your scene:
– **Matrix/Evaluative Metering**: For general scenes.
– **Center-Weighted Metering**: For scenes where the main subject is centered.
– **Spot Metering**: For high-contrast scenes or when you need precise exposure for a specific area.
### 5. Bracket Your Shots
Exposure bracketing involves taking multiple shots at different exposure settings (bracketed around your calculated exposure) to ensure at least one image is well-exposed, especially in high-contrast lighting conditions.
### 6. Check Your Histogram
A histogram is a graphical representation of the tonal values in your image. It helps you ensure that details are not lost to overexposure or underexposure by showing the distribution of shadows, midtones, and highlights.
### 7. Practice Active Shooting
Take test shots and review them to adjust your settings accordingly. This active shooting approach helps you adapt to changing light conditions quickly.
### 8. Understand Dynamic Range
Learn about the dynamic range of your camera sensor and how it affects the ability to capture detail in both shadows and highlights. This understanding can help you avoid blown-out highlights or blocked-up shadows.
### 9. Use a Light Meter
A handheld light meter can provide accurate readings of the light in your scene, helping you set your camera settings for the correct exposure.
### 10. Experiment with ISO
ISO affects the camera’s sensitivity to light. Lower ISOs (like 100 or 200) produce less noise but require more light, while higher ISOs (like 800 or 1600) allow for faster shutter speeds in low light but can introduce noise.
### 11. Shoot in RAW
Shooting in RAW format gives you more flexibility in post-production to adjust exposure, recover details in highlights and shadows, and make other edits without degrading image quality.
### 12. Learn from Mistakes
Not every shot will be perfectly exposed, and that’s okay. Analyze your mistakes to understand what went wrong and how to improve.
By practicing these tips and consistently experimenting with different settings, you’ll develop a keen eye for exposure and the ability to capture stunning images in various lighting conditions. Remember, the key to mastering exposure is understanding how the elements of the exposure triangle interact and affect your images.